Sunday, March 15, 2009
Drakensang: The dark Eye complete walkthrough- Index
Drakensang walktrough- Chapter 10: Mountain Drakensang- C)The last fight against Malgorra
The last fight against Malgorra
Timeframe: 10 minutes
Difficulty: Moderate
Malgorra is of course nowhere near defeated, it would be too easy. But even in its hydra-like appearance is the good woman not quite so hard to crack, as it seems. All those who up to that time as potions and the like have long hoarded, can now breathe a sigh of relief: now use the stuff without remorse, because if the 1200 life points from Malgorra away, then the game ended.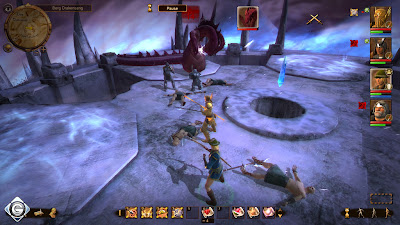
Malgorra is even more monster than as a sorceress Nahkämpferin. Its fire attack is the most dangerous of all, because they are all characters in their immediate surroundings umhaut, inflames them and of course damage. Ranged therefore have nothing in their area to search. Respect in this context that, according to a different position when Malgorra somewhere else teleports.
In between diving every now and again a couple of opponents, as there would be a few skeletons, an emerald spider, magical skeletons, scorpions and a stone golem. The latter occurs only at the end in appearance when Malgorra only very little energy is life. At this time you concentrate entirely on Malgorra, their defeat only a few seconds away. Otherwise is the motto: First off with the Gegnerkleinkram, which disrupts only. Netter suffer this way Malgorras fire at enemies attack the same damage as you.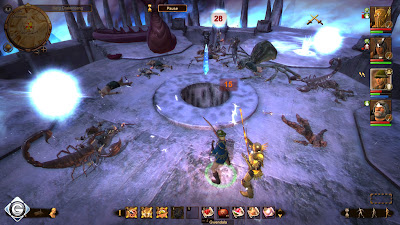
After each 400 life points loses Malgorra one of their heads, may also be revived fallen characters. Avoid under all circumstances, but that one is dying to the ground. Healed primarily with water, simply because it is significantly faster. Otherwise, use your favorite skills and not simply let loose: Malgorra state assets has more than strength. In other words: If you the way to the mountain peaks were well informed about you, then you should take the lady can easily defeat.
Drakensang walktrough- Chapter 10: Mountain Drakensang- B)The two portals
The two portals
Timeframe: 75 minutes
Difficulty: hard
The second topic is in the southeast of the area. The road is not hard to find, but you need to necessarily all on the map visible enemies before killing them. Sometime wide path goes from a narrow path right at the end of their second portal from afar to see dürftet.
True, there will be dramatic, only if it zusteuert to this: From now teleport constant opponent from the portal and also come from further north herangestürmt. Therefore: Destroy the portal without further ado, and then flees back to the dwarfs. From there you can find the enemy immense volume, consisting of several cultists, giant scorpions, Mantra'ke and a total of five (!) Stone golems, the best crack.
Only when only isolated Mantra'ke arrive, it is your way to the northeast and the third and last topic continued. Again, did you not just with young opponents, but also with a stone golem to do. Once you see the portal, then destroys it as soon as possible. But be careful: On the grounds are full of traps, the only way, so it is best left entirely to the edge to topic marches.
Then you should take the defendant without further assistance or Fluchtgedanken defeat. Do not forget the many traps and remains at the same time, as much as possible, moving to the attacks of the stone golems out of the way to go. True, it will be difficult until then: A whole latte Mantra'ke is exactly where you stand in the way, where the passage toward a mountain peak. Escape back to the dwarfs should avoid it this time, because then immerse already killed all the cultists and Mantra'ke again. Uses so busy here hoarded up your potions.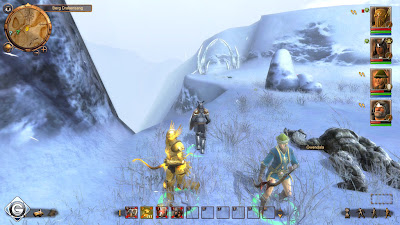
Even then allowed her not blindly rush to the front: If you are a few steps the question mark on the map is approaching, then crawl louder cultists out of the ground. If you leave immediately, and avoids it, you continue the question mark to approach, as long as cultists still remain. Otherwise, it inadvertently crosses a border, after a further troop Mantra'ke heranstürmt to you in the fight against the cultists would disturb sensitive. In addition, it is also in this area only as of traps abound. At best it attracts cultists piece with your Ranged Stückt to themselves rather than to them to run.
Are the cultists history, then steers back to the question mark. Before you see the two steep mountain trails: On the right a few Harpy eagle flutter around on the left is the already mentioned Mantra'ke to force you to. If you are lucky, then at war, the two parties before your eyes. Waiting for the outcome of the fight and kill the surviving Mantra'ke. The right path leads you to a crate, however, the left will bring you closer to the mountain peaks.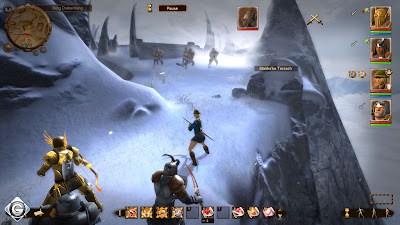
Again you have to defend against Mantra'ke, which on top of slightly more than their cousins are. However, they are only four, and therefore relatively easy to defeat. At the summit, followed by an almost suspicious easier fight against Malgorra and a handful of cultists. Take Care first and then to the latter to the former. Save and then click the Adamant, bringing her the final battle einläutet.
Previous-Chapter 10: Mountain Drakensang- B)The path to the Dwarf camp
Drakensang walktrough- Chapter 10: Mountain Drakensang- A)The path to the Dwarf camp
The path to the Dwarf camp
Timeframe: 30 minutes
Difficulty: Moderate
The beginning is quite easy: all the cultists and defeated Mantra'ke before it dwarfs the massacre. Marched west and met the dwarf king. He asked which way you want to pursue: the food or for Ranged. The decision is solely dependent on your preferences. It is important that you are a few steps further, if you re the king of the division of the way a lot of attention, do not take the wrong path. Have you decided for the missile, then you'll have the top running path to your left take. Have you decided for the melee, then aiming the flat path directly in front of you.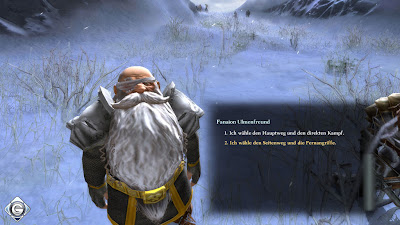
The following battle is one way or another is not particularly difficult. In other words: If you read the few opponents not easily defeated, then you should like an old game in Murolosch load and train your characters better. Have you done it, then destroy the dwarves to thank one of three portals.
You need now to worry about the other two. Important tip advance: You can always go back to the Dwarf, and the dealer you buy from Angraxa cure. The latter conjures up a protection spell on top of your heroes, the full 30 minutes continues.
Previous-Chapter 9: Behind the fire cases- B)The Grolmenkönig
Drakensang walktrough- Chapter 9: Behind the fire cases- B)The Grolmenkönig
The Grolmenkönig
Timeframe: 90 minutes
Difficulty: Moderate
Arrived in the big room, you will apply equally to the right and aiming at the broad staircase. Shortly thereafter, the Grolmenkönig: He is not very pleased about your visit and conjures a few Grolmenkristalle guilt. This must necessarily destroy it, but otherwise appear constantly on new Grolmengeister.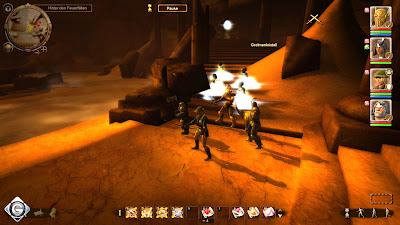
Do you have the first crystal just before you destroy all the ghosts and destroyed, then continue running and goes up at the end of the platform. Shoots with a Ranged from far away are the Grolmenkristall broken. Turns out to be a good 90 degrees to the left and aiming the first of five to Grolmenkonsolen. Before you click on these, read you the following basic instructions:
You can console each at four different points touching or, better said, one of their four slabs rotate. Each of them represents one of the symbols that are at the top of the pyramid angle of the console can be seen. Important for you is only the symbol, which in the space hineinzeigt, so what you see, if you, directly from the console below, himself in the middle of the room looks.
This icon tells you what record you have to rotate:
- Watch her three obliquely downward curved lines, it is the first of the above.
- You see horizontal wavy lines, then it is the second from the top.
- You see a simple circle, then it is the third from the top.
- You see it a squiggled round symbol, then it is the fourth from the top.
Makes her an error, then solves it first, a small case, and secondly, it misses the chance later to a small reward for your efforts.
Three of the consoles are on this level and two more at the next subject. You must therefore be a further large upward climb stairs, as soon as her first three consoles have all enabled. You should continue to Grolmenkristalle from afar with your Ranged destroy. Look also on crystals on it, on the other side of the room spied. Theoretically you can, apart from the final battle, all further contact with Grolmengeistern prevent. The only drawback: you obviously miss some experience points. Otherwise appears occasionally King on to it with one, two strokes sells.
Do you have pressed all crystals and the narrow bridge at the end of the path is reached, then comes the inevitable showdown against Grolmenkönig. Initially, this not so hard: The king has a very nasty fire attack in sleeve, but it has little defenses not looking good. The problem is the fight anyway, because after each loss of approximately one third of his life energy, he implores Grolmengeister that you are immensely distracting.
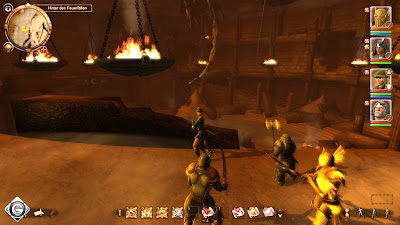
The escape trick worked again but this time he has another benefit. The Grolmengeister not necessarily appear in your or in the vicinity of the King, but always at the start point of the fight, just before the narrow bridge. Ergo, you should the king of this position and can weglocken him so moved smoothly kill. The ghost does herunterschweben to you, but they are so slow that it barely in time you will achieve.
Is the King defeated, then marched back up and painstakingly built up over the bridge. After the cutscenes you briefly turns around and opens the box, which is encased by the fire. Goes even further back to the middle of the room and looks towards the East. You should at the base of the stairs and see how this goes to the top left. Below these stairs is a secret compartment where the reward for the flawless execution of the five Grolmenkonsolen hidden.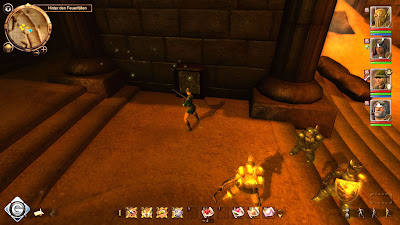
Now is the time until all the way to the north and run down the stairs. Talk to the friendly cyclops and convinces him that it would be another possibility as to foul down here. After a further intermediate sequence you need to contact him again and convince them that there is still hope. You must you immediately a new and powerful weapon to choose. Considering that only your hero, may be worn, just like the fire-arms. Finally, you enter the portal in the north and is back in Murolosch.
Now it's serious: Talk to Rakorium and then Arom. When he tells her that her're ready, there is no turning back anymore. Equip, train and side quests you need to finish in each event advance to conclude.
Previous-Chapter 9: Behind the fire cases- A)Hidden switches, fire-heart traps and soil