Sunday, March 15, 2009
Drakensang: The dark Eye complete walkthrough- Index
Drakensang walktrough- Chapter 10: Mountain Drakensang- C)The last fight against Malgorra
The last fight against Malgorra
Timeframe: 10 minutes
Difficulty: Moderate
Malgorra is of course nowhere near defeated, it would be too easy. But even in its hydra-like appearance is the good woman not quite so hard to crack, as it seems. All those who up to that time as potions and the like have long hoarded, can now breathe a sigh of relief: now use the stuff without remorse, because if the 1200 life points from Malgorra away, then the game ended.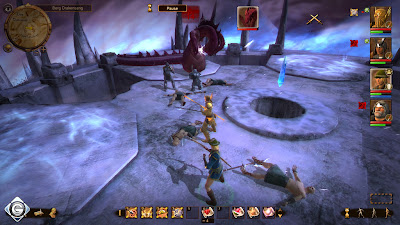
Malgorra is even more monster than as a sorceress Nahkämpferin. Its fire attack is the most dangerous of all, because they are all characters in their immediate surroundings umhaut, inflames them and of course damage. Ranged therefore have nothing in their area to search. Respect in this context that, according to a different position when Malgorra somewhere else teleports.
In between diving every now and again a couple of opponents, as there would be a few skeletons, an emerald spider, magical skeletons, scorpions and a stone golem. The latter occurs only at the end in appearance when Malgorra only very little energy is life. At this time you concentrate entirely on Malgorra, their defeat only a few seconds away. Otherwise is the motto: First off with the Gegnerkleinkram, which disrupts only. Netter suffer this way Malgorras fire at enemies attack the same damage as you.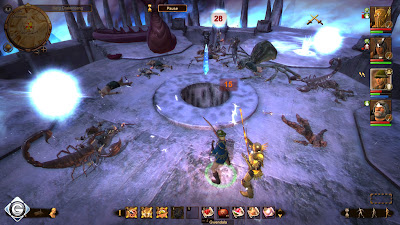
After each 400 life points loses Malgorra one of their heads, may also be revived fallen characters. Avoid under all circumstances, but that one is dying to the ground. Healed primarily with water, simply because it is significantly faster. Otherwise, use your favorite skills and not simply let loose: Malgorra state assets has more than strength. In other words: If you the way to the mountain peaks were well informed about you, then you should take the lady can easily defeat.
Drakensang walktrough- Chapter 10: Mountain Drakensang- B)The two portals
The two portals
Timeframe: 75 minutes
Difficulty: hard
The second topic is in the southeast of the area. The road is not hard to find, but you need to necessarily all on the map visible enemies before killing them. Sometime wide path goes from a narrow path right at the end of their second portal from afar to see dürftet.
True, there will be dramatic, only if it zusteuert to this: From now teleport constant opponent from the portal and also come from further north herangestürmt. Therefore: Destroy the portal without further ado, and then flees back to the dwarfs. From there you can find the enemy immense volume, consisting of several cultists, giant scorpions, Mantra'ke and a total of five (!) Stone golems, the best crack.
Only when only isolated Mantra'ke arrive, it is your way to the northeast and the third and last topic continued. Again, did you not just with young opponents, but also with a stone golem to do. Once you see the portal, then destroys it as soon as possible. But be careful: On the grounds are full of traps, the only way, so it is best left entirely to the edge to topic marches.
Then you should take the defendant without further assistance or Fluchtgedanken defeat. Do not forget the many traps and remains at the same time, as much as possible, moving to the attacks of the stone golems out of the way to go. True, it will be difficult until then: A whole latte Mantra'ke is exactly where you stand in the way, where the passage toward a mountain peak. Escape back to the dwarfs should avoid it this time, because then immerse already killed all the cultists and Mantra'ke again. Uses so busy here hoarded up your potions.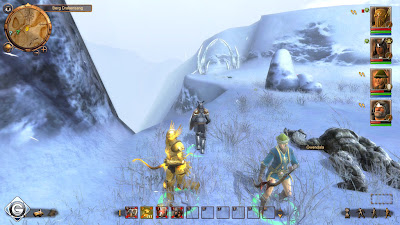
Even then allowed her not blindly rush to the front: If you are a few steps the question mark on the map is approaching, then crawl louder cultists out of the ground. If you leave immediately, and avoids it, you continue the question mark to approach, as long as cultists still remain. Otherwise, it inadvertently crosses a border, after a further troop Mantra'ke heranstürmt to you in the fight against the cultists would disturb sensitive. In addition, it is also in this area only as of traps abound. At best it attracts cultists piece with your Ranged Stückt to themselves rather than to them to run.
Are the cultists history, then steers back to the question mark. Before you see the two steep mountain trails: On the right a few Harpy eagle flutter around on the left is the already mentioned Mantra'ke to force you to. If you are lucky, then at war, the two parties before your eyes. Waiting for the outcome of the fight and kill the surviving Mantra'ke. The right path leads you to a crate, however, the left will bring you closer to the mountain peaks.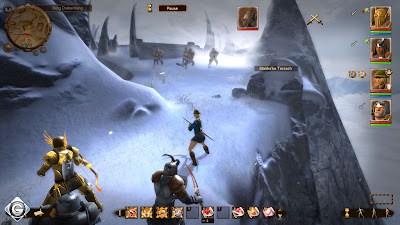
Again you have to defend against Mantra'ke, which on top of slightly more than their cousins are. However, they are only four, and therefore relatively easy to defeat. At the summit, followed by an almost suspicious easier fight against Malgorra and a handful of cultists. Take Care first and then to the latter to the former. Save and then click the Adamant, bringing her the final battle einläutet.
Previous-Chapter 10: Mountain Drakensang- B)The path to the Dwarf camp
Drakensang walktrough- Chapter 10: Mountain Drakensang- A)The path to the Dwarf camp
The path to the Dwarf camp
Timeframe: 30 minutes
Difficulty: Moderate
The beginning is quite easy: all the cultists and defeated Mantra'ke before it dwarfs the massacre. Marched west and met the dwarf king. He asked which way you want to pursue: the food or for Ranged. The decision is solely dependent on your preferences. It is important that you are a few steps further, if you re the king of the division of the way a lot of attention, do not take the wrong path. Have you decided for the missile, then you'll have the top running path to your left take. Have you decided for the melee, then aiming the flat path directly in front of you.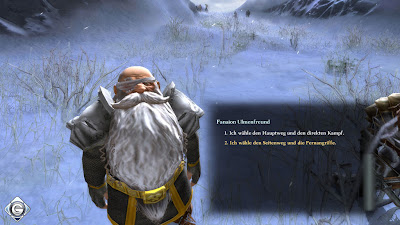
The following battle is one way or another is not particularly difficult. In other words: If you read the few opponents not easily defeated, then you should like an old game in Murolosch load and train your characters better. Have you done it, then destroy the dwarves to thank one of three portals.
You need now to worry about the other two. Important tip advance: You can always go back to the Dwarf, and the dealer you buy from Angraxa cure. The latter conjures up a protection spell on top of your heroes, the full 30 minutes continues.
Previous-Chapter 9: Behind the fire cases- B)The Grolmenkönig
Drakensang walktrough- Chapter 9: Behind the fire cases- B)The Grolmenkönig
The Grolmenkönig
Timeframe: 90 minutes
Difficulty: Moderate
Arrived in the big room, you will apply equally to the right and aiming at the broad staircase. Shortly thereafter, the Grolmenkönig: He is not very pleased about your visit and conjures a few Grolmenkristalle guilt. This must necessarily destroy it, but otherwise appear constantly on new Grolmengeister.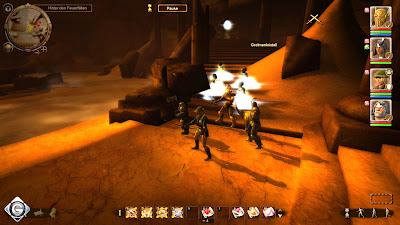
Do you have the first crystal just before you destroy all the ghosts and destroyed, then continue running and goes up at the end of the platform. Shoots with a Ranged from far away are the Grolmenkristall broken. Turns out to be a good 90 degrees to the left and aiming the first of five to Grolmenkonsolen. Before you click on these, read you the following basic instructions:
You can console each at four different points touching or, better said, one of their four slabs rotate. Each of them represents one of the symbols that are at the top of the pyramid angle of the console can be seen. Important for you is only the symbol, which in the space hineinzeigt, so what you see, if you, directly from the console below, himself in the middle of the room looks.
This icon tells you what record you have to rotate:
- Watch her three obliquely downward curved lines, it is the first of the above.
- You see horizontal wavy lines, then it is the second from the top.
- You see a simple circle, then it is the third from the top.
- You see it a squiggled round symbol, then it is the fourth from the top.
Makes her an error, then solves it first, a small case, and secondly, it misses the chance later to a small reward for your efforts.
Three of the consoles are on this level and two more at the next subject. You must therefore be a further large upward climb stairs, as soon as her first three consoles have all enabled. You should continue to Grolmenkristalle from afar with your Ranged destroy. Look also on crystals on it, on the other side of the room spied. Theoretically you can, apart from the final battle, all further contact with Grolmengeistern prevent. The only drawback: you obviously miss some experience points. Otherwise appears occasionally King on to it with one, two strokes sells.
Do you have pressed all crystals and the narrow bridge at the end of the path is reached, then comes the inevitable showdown against Grolmenkönig. Initially, this not so hard: The king has a very nasty fire attack in sleeve, but it has little defenses not looking good. The problem is the fight anyway, because after each loss of approximately one third of his life energy, he implores Grolmengeister that you are immensely distracting.
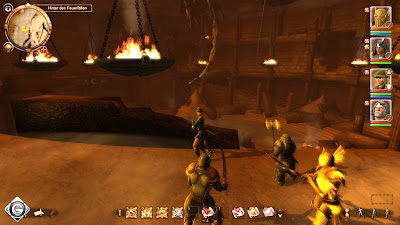
The escape trick worked again but this time he has another benefit. The Grolmengeister not necessarily appear in your or in the vicinity of the King, but always at the start point of the fight, just before the narrow bridge. Ergo, you should the king of this position and can weglocken him so moved smoothly kill. The ghost does herunterschweben to you, but they are so slow that it barely in time you will achieve.
Is the King defeated, then marched back up and painstakingly built up over the bridge. After the cutscenes you briefly turns around and opens the box, which is encased by the fire. Goes even further back to the middle of the room and looks towards the East. You should at the base of the stairs and see how this goes to the top left. Below these stairs is a secret compartment where the reward for the flawless execution of the five Grolmenkonsolen hidden.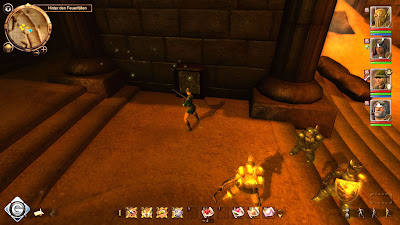
Now is the time until all the way to the north and run down the stairs. Talk to the friendly cyclops and convinces him that it would be another possibility as to foul down here. After a further intermediate sequence you need to contact him again and convince them that there is still hope. You must you immediately a new and powerful weapon to choose. Considering that only your hero, may be worn, just like the fire-arms. Finally, you enter the portal in the north and is back in Murolosch.
Now it's serious: Talk to Rakorium and then Arom. When he tells her that her're ready, there is no turning back anymore. Equip, train and side quests you need to finish in each event advance to conclude.
Previous-Chapter 9: Behind the fire cases- A)Hidden switches, fire-heart traps and soil
Drakensang walktrough- Chapter 9: Behind the fire cases- A)Hidden switches, fire-heart traps and soil
Hidden switches, fire-heart traps and soil
Timeframe: 90 minutes
Difficulty: Moderate
Walk straight ahead stubbornly and let you not fire ghosts and spiders Emerald irritate. If you are fighting against the former: Searches in any event, ash and collects all the fire heart, which you can get. Their lands necessarily at an impasse on the deck of a number of stone tablets around. Relatively early hides a switch to your right behind a pillar or on the wall. He is unfortunately placed so high that it had not reached him. Therefore, type the column with a simple click, which then zusammenkracht and switches.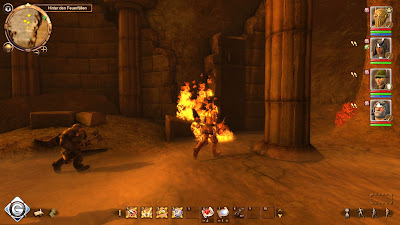
Running back and at the junction of the road to the east. Again the path breaks and on top of fire, three ghosts. Caution: When in the course of their death blow, then they really much damage each time they are right next to nature. Therefore, these fire ghost lives here much less energy than those colleagues who know her in Grundlur had learned. Attempts therefore a priority, from afar with your Ranged and their masters to take action shots.
Then collects each of the Fire Heart from the leftover ash and goes all the way to the rear of the stone subjects. If you look into their affairs, then discovered her heart burned. Take it out and still continues to burn your heart, more specifically the left three and a stone into the right compartment. If you do not have enough, then you'll have to wait just a bit behind you every now and then dip further fire spirits that your lack of heart should be compensated.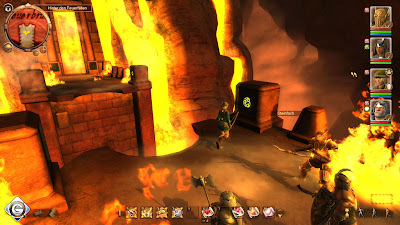
Crosses the bridge again and get on a three-pack fire spirit. Also on the other side are two stone subjects. This time you'll have to fire left four hearts and two into the right to use, then is the way to the north free. The following course is teeming only as of traps. Look at the tiles and avoid all those with an eye icon. To do this, it selects one of your characters and run with them separately to the other end of the Ganges.
Drakensang walktrough- Chapter 8:Depths of Grundlur- D)Back in Murolosch
Timeframe: 20 minutes
Difficulty: Easy
There is the king during your absence, the madness in ruins, so it immediately rushes to the throne room. In this teeming just so crazy dwarfs from. Accesses begin with a bow and arrow, and waits until the attacked troops stormed unto you. So you can get the groups after easy defeat. The Dwarfs are not particularly strong, especially under-tactically perfect. Even the king can only suggest to get wild and, in contrast to his subjects given a higher life energy bar to show.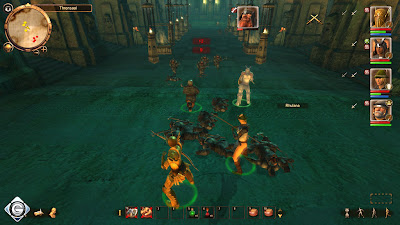
Now you need to return to Aldessias apartment, and the portal a second time to use. Before you even allowed in Zeugwart Otosch pick up a further reward, on the occasion to give her his dented helmet. Equips you strong and is mainly due again to the armourer. Learn the latest now for all your Ranged the ability of the master shot: In this dungeon you need to frequently against certain serious opponents applies, where this strong attack of gold is worth.
Drakensang walktrough- Chapter 8:Depths of Grundlur- C)The flames helmet
The flames helmet
Time Frame: 120 minutes
Difficulty: Moderate
Walk behind the door west to the dead and fights against an amoeba. Go back and get to suddenly emerging Grolmengeister On. Ignore the moment the way to the north and smite those to the south one. Ignored as well as all intersections and marched up to the impasse. They found her a dented helmet, with its aufnehmt. Returns and to take only the best route to the west. You arrive to a camp used by Grolmen only as swarms. Caution: In the midst of a fire flutters around spirit, whose fight a priority.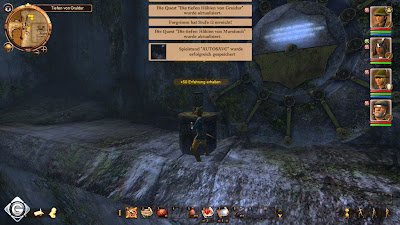
Do you have looted the camp, then turns around and hit the second lane in a westerly direction to those directly above the other. After further struggles against her Grolmen climbs a spiral staircase up and allowed you to once again enjoy massive Grolmen. The next crossroads leads you in a southerly direction to a camp, while their ultimate weiterlauft north. One intersection later aiming their way to the northeast at.
Warning: save from BEFORE you take any button is pressed. If you make a mistake, then you can no longer be this mystery solved. Click first on the first switch that you see. Walk to the left and then click this button to necessarily TWICE. Run back now and again clicked the first switch. Go to the northeast, comes the following NOT switch to and marches in favor of the crossing further to the northwest. Also met her there a switch to it as the last movement. Finally gets you in the Northeast throughout the key, which is located on the ground.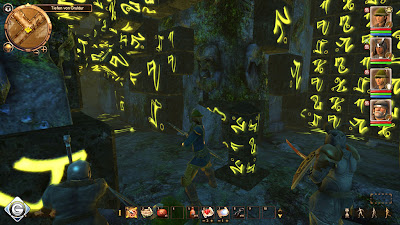
Marches back and at the first intersection WITHOUT switch in a north-westerly direction to the second spiral staircase. It tackles the Grolmen rising one floor up, wait until the bridge before you build, and kills all Grolmengeister. Even from afar you see in the next gear two stone golems. This time you should be strong enough, one of them without a break to defeat and after a short flight and the second regeneration phase Golem easy to conquer.
After running her left in a very large room. Defeated the Grolmengeister and opens the chest in the northwest. Take out the entire contents and leave the room again. Marches further east and open the next door. Opens also those in the north door and walk up to the next room. Defeated the Fire Spirit, devoted to the box and you press the switch. Returns around and hit the road to the south one.
Turn left as soon as possible after starting. If you have the room full Grolmen enter, then appeared next to you on a huge Zyklopenskelett. Flees, without hesitation, until your opponent you are no longer pursuing. Returns to the room: Now you can order the first Zyklopenskelett care if it is of course from attacking. It has a lot of life energy, but also a weak defense and a slow attack speed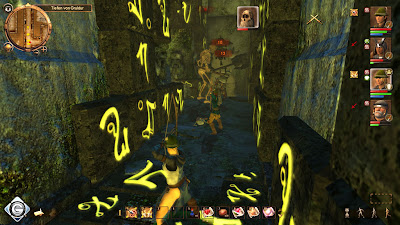
Once you have the skeleton, and shortly afterwards the defeated Grolmen have expressed their very rear of the space inside the small monoliths. Then it touches the large monoliths, which has just fallen down, and you get the flames helmet and a teleport disc. Now is your arms fully flames on it in the inventory of relevant quest items found. Only your main character can wear, but it is also universally suitable for every class.
Now leave the room to the east. You reach the final spiral staircase that you two floors down leads. Your stoßt on a gate, which means it opens the winch. Marches at the next intersection, turn left towards the east and reached the stairs, which you return to the beginning of space brings.
What follows is a final battle against a dozen Grolmengeister well, despite their majority have nothing to report. Once you and the dwarf spirit one last time is addressed, explains the dwarf in his amulet from the corpse. Click to the remnants of the body, it looks in your inventory after the amulet and submit it to the inventory of the corpse. Finally it goes to the starting point that opens the portal and travel back to Murolosch.
Previous-Chapter 8:Depths of Grundlur- B)The third artifact cyclopean
Drakensang walktrough- Chapter 8:Depths of Grundlur- B)The third artifact cyclopean
The third artifact cyclopean
Timeframe: 60 minutes
Difficulty: hard
If you have everything in this area have researched the story, or early next want to follow, then marched all the way back to the beginning room. This opens the door cyclopean near the dwarf corpse and take the path east into attack. They expect you the first Grolmen opponents of the game. These are available in two versions: the undead and ghosts. Kill the latter necessarily first, because their attacks nerves, but they have little life energy.
At the next intersection you can either continue toward the northeast and an amoeba, plus a large emerald spider kill or equal to the south to the next area marching. You recognize this fact that there is a map there, just as in the adjacent area. Course you can not, but it encountered other fire spirits, Wühlschraten, Emerald spiders and of course many Grolmen. Verfahrt both tactically as before and is struggling through you, until you again in the very large area arrived, too.
There is it in the first T-junction to the west and open the cracked wall by using the winch. Thus it paves a shortcut back to the workshop, you'll probably also need: A battle against four ghost fire is imminent, or more precisely the north of the T-junction of view. Again the ghost appear only if its third cyclopean artefact in the middle of the area to close.
Do you have the artifact, either after a hard fought battle with several escape attempts ergaunert, then goes back to the beginning of their hall. In addition to the dwarf corpse a staircase leads upwards to the second floor. Uses this path and you come to the third cyclopean door.
Previous-Chapter 8:Depths of Grundlur- A)The first and second cyclopean artifact
Drakensang walktrough- Chapter 8:Depths of Grundlur- A)The first and second cyclopean artifact
Timeframe: 60 minutes
Difficulty: hard
Walk east down the stairs and a dwarf Spirit gives you the job, after an amulet to search. Examining then the corpse of the dwarf and take the artifact to cyclopean you. Goes to the cyclopean doors towards the northwest, which is due to the artifact will automatically open.
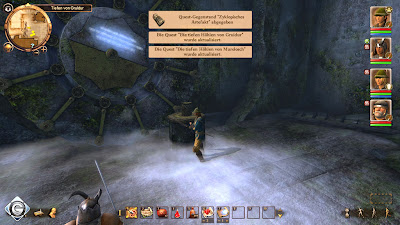
At the crossroads following their marching straight and comes to a small workshop. Merkt euch their position, because if you later once in front of a fleeing enemy superiority, then this latest desist here from you. Returns around and take in the way the left corner to the east.
Their encounter some spiders, until you again at an intersection in one direction have to decide. Works south until you begin to Amöbennest before and kills all amoebae, which you can find. Ensure that it really any of their carcasses were investigated: The majority of these Viecher leave valuable potions.
Returns to the last intersection and aiming their way to the east. Once the course ends, keep left and you inevitably stoßt six Wühlschrate. These are indeed not easy to defeat, especially since you are in a possible escape route in the spiders will see. Therefore quietly consumed one or two healing potions to fight without a break to exist.
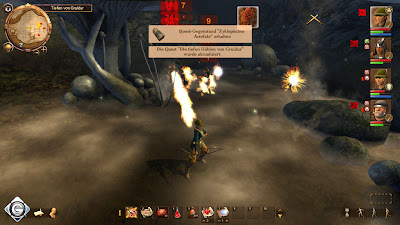
Then comes an even tougher chunks for you to: At the end of the aisle you come into a room and see on the floor next cyclopean artifact lie. Take this yet, but only read further: Once you have the artifact to be close to that three very strong diving fire ghost right behind you on. They attack you with fire spells, it is not only a lot of damage, but also your party in fire. Similar to the dragon at the end of the penultimate chapter, on the other hand, help in ointments, but this is the damage the larger problem.
Should you, in fact, no country in this fight, then there are two possibilities. First option: train your troops and sets everything on physical strength and energy of life, that you have the necessary stamina. Second option: right after fleeing fighting blindly back to the beginning of workshop. Ignore both the spiders and the Wühlschrate, which of you is empty aisles swept again inhabit.
As I said: Once you've reached the shop, leave all of you from enemies. Fight you again to the front of the fire spirits. This brings to a new experience points and the other a tactical advantage. Would you the ghost right after their appearance matter, then would you with your back to the wall are. But if you take the same flight and return, then there are the ghosts in the inferior position.
Moreover, the great advantage of a long corridor, which Ranged relatively safe place to rear and the use of melee as a blockade. Last note: As soon as a fire spirit dies, he explodes and adds the last time you harm, albeit not quite as strong as it looks after the fireworks. If all these tips and your strength is still not enough, then you can flee again: After this, no new opponents on the way up to the workshop appear.
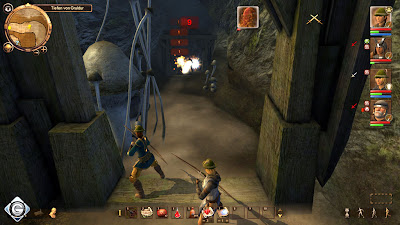
Have you done everything and the cyclopean artifact in your luggage, then come back to. There, where her little detour to the right and immediately turn left have to run, you can still left the ramp upward march. You get to an impasse with amoebae, where it also a few healing potions can elicit. Moreover, at the very end of a box on the floor, their contents more than is worthwhile. The only small stumbling block on the way back dive to four new Wühlschrate.
Drakensang walktrough- Chapter 7: Murolosch- D)The fight against Aldessia
The fight against Aldessia
Timeframe: 15 minutes
Difficulty: hard
Leave the throne room and aiming using the question mark on the map of the apartments at Aldessia. The entrance is right next Grazimas camp, where it earlier had fought the Gruftasseln.
Inside, it runs the first two stairs and turn left. After a short dispute with Aldessia picks them along with you on two stone golems. Kill first Aldessia: It holds virtually nothing and has very little life energy. The two golems are immensely stronger, but also very slow. Packt your best skills and flees quiet interval from the chambers. If you have regenerated and re-enter it, it is pleased to note that the golems no pixels lost their lives or energy received.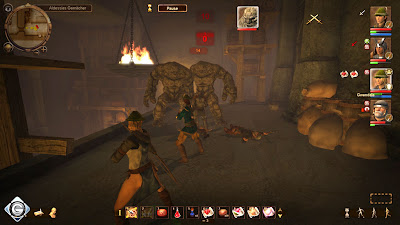
Is the battle won, then you need to step through the portal, in Aldessias chambers located in the north. If you still want to buy or an unfinished addition to Quest would like to solve, then you should do this before. Behind the portal you expect a fairly large dungeon, including the depths of Grundlur.
Previous-Chapter 7: Murolosch- C)The hearing
Next-Chapter 8:Depths of Grundlur- A)The first and second cyclopean artifact
Drakensang walktrough- Chapter 7: Murolosch- C)The hearing
The hearing
Timeframe: 15 minutes
Difficulty: Moderate
Now did you all for your defense-related instructions and statements collected (a total of eight in the number) and can finally negotiated in the throne room in the tackle. Saves previously but, because if you accidentally clicked the wrong reasons, you can negotiate, despite the positive results of your lose.
Arombolosch talk to me and says, that your inquiries have been completed. The King is the first Salina as a stranger call, which in principle would excite suspicion. Countered that are alien to her and not be indicted. The first count shows her the king's statement of Krimbart. Next, you mentioned that the stone tablet is not in possession of Salinas was. Then it presents the testimony of Argmar about the juggling balls and at last count trumps her with scraps of fabric.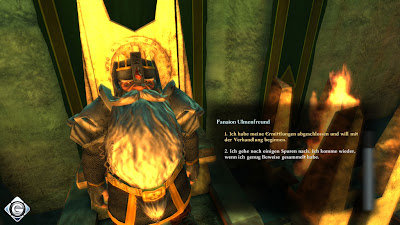
While your arguments mentioned her red hair out of the beer warehouse and immediately draws a connection to Aldessia. Then talk to her again Aldessia and asks what connects them with Xolgorox. It follows the bottle with the attractant, which also suggests Aldessia. On the question of the king, why do not Aldessia have sold at Salina could provide it with the opposite question, why then they do not have told.
Finally, it still prefers the testimony of Schorobosch out of the hat and you will be after the termination of your pleas from the king in the highest tones as a brilliant defender and praised investigators. For an acquittal Salinas should answer all these thick enough.
Drakensang walktrough- Chapter 7: Murolosch- B)The eight Salinas evidence of innocence
The eight Salinas evidence of innocence
Time Frame: 120 minutes
Difficulty: Moderate
Bring Lugosch the fungus. Then he reports you, that there is a suspect for the poisoning Xolgorox 'exist. Marched again to the throne room and makes her astonished to note that none other than Queen Gaukler Salina is accused of the crime. Of course übernehmt her the role of defense: Salina asked once and she suggests that they have a excuse for the crime and it would have a witness there.
Then you turn right, and speak to the Xolgorox recovered. Ask him a priority, whether he deals with the caves of Murolosch familiar. When asked, all guards in the throne room and then leave this again. Here you still get an order from the tomb Grazima Asselborn fight to you later take care.
Outside the throne room, it increases both down stairs and look right into the tavern to. Here, among other things Krimbart of Salina allegedly could provide an alibi. But because this is in trouble it would bring, he hesitates. Persuades him as follows: Mentioned Salina and says that actually he was responsible for the mess. He bears a share of the responsibility and he had to persuade a private presentation. Ködert him finally that he and his exculpatory statement would be a hero, and he agrees.
Go to the tavern from a little farther north and then up the stairs to your left down until her Grazima stoßt. Talk to her and you fight through three rooms full of Gruftasseln. The first two should not be a problem in the past, however, lurks a larger type of woodlice, which is persistent. Not for the fight you can always break and flee before the enemy desist from you. Heals you and starts a new attack. Once all dead woodlice and all Asselborn nests are destroyed, if you completely in the northeast a bottle with yellow liquid espy. Take it and asks Grazima make you out to escort.
Walk up the stairs to the top and then toward the northeast to Lugosch. Show him the bottle with the yellow liquid and asks him about the poison, which Xolgorox brought into mortal danger. Lugosch says that is not the food but the beer had been poisoned. Controls ergo a second time at the tavern and the landlord asked this before the counter.
Say it on the beer and the place where it is stored. Ask for the key and says that her defenders wäret Salinas. It was to prove their innocence and that there is already a guest of his tavern their gains would have an alibi. So make sure you get the key. Alternatively, you can also pay 40 ducats, which, however, you make no further advantage.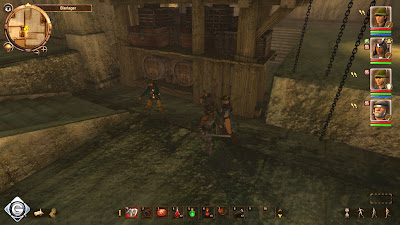
Rotates you again and rises to the next stair down. Your stoßt directly on the door to the beer warehouse. Kill the few rats at the entrance, but beware: Some of the beasts are not, and should be one of you be taken seriously. After running it diagonally right over to Xolgorox 'beer barrel and investigated it. You discovered a red hair, the innocence of Salinas importance.
Leave the beer warehouse and goes back to the tavern. Give the landlord return his key and then examines the dwarf Orgrim with which it also speaks. Does your help regarding the collapsed tunnel to. Searches all the dwarfs, and speak, which by now question marks on the map are drawn. Their names are: pit Gandor Bauer, Steiger Fenmural, Bauer Lulosch mine, shaft and pit Endrosch Feger Tschamm Bauer. Have you found all beschwatzt and then walk all the way to the north to the tunnel. Talk to the dwarves, before the collapse and you place a piece of cloth over.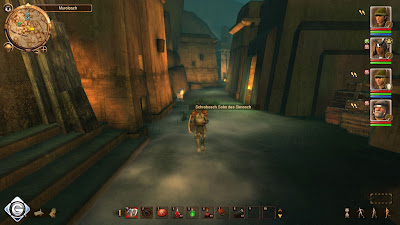
Visit Salina in the throne room and show her the substance is obtained shreds. She asked on the occasion about the broken Juggling Balls. If this is not possible, then you have to start your studies, not all stations surveyed. Leave the throne room again, and you begebt southwest to question marks, which you apartment leads to Salinas.
Shortly before the goal you see, left leaning against the wall, the dwarf Schrobosch, the slightly dazed look. Talk to him and heal him, whereupon it thankfully The testimony of a witness to get him. Enter now Salinas apartment and questioned about your rights on the dwarf Ungrimm. Ask for the dress and says that it is required for the negotiation.
Run for the umpteenth time to the tavern and speak with the guard Argmar. He explained to your satisfaction you the history of juggling with the ball, which also contributes to the discharge Salinas. Addiction thereafter, to the west of your position of view, the dealer Dornax. Say it to him several times and löchert regarding Aldessia. Run one last time to Lugosch and asks how it comes to the relationship between Aldessia and Xolgorox is ordered.