Sunday, March 15, 2009

Drakensang walktrough- Chapter 9: Behind the fire cases- B)The Grolmenkönig

Previous-Chapter 9: Behind the fire cases- A)Hidden switches, fire-heart traps and soil

The Grolmenkönig

Timeframe: 90 minutes
Difficulty: Moderate

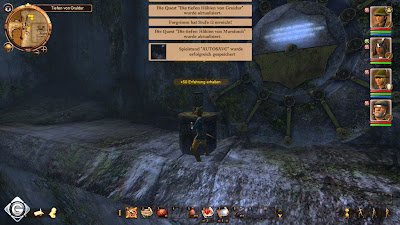
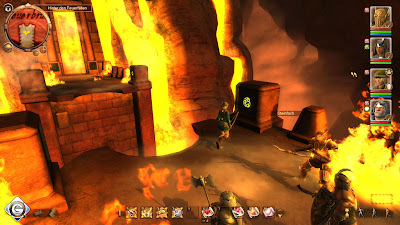
Arrived in the big room, you will apply equally to the right and aiming at the broad staircase. Shortly thereafter, the Grolmenkönig: He is not very pleased about your visit and conjures a few Grolmenkristalle guilt. This must necessarily destroy it, but otherwise appear constantly on new Grolmengeister.
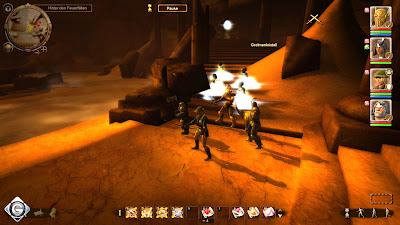


Do you have the first crystal just before you destroy all the ghosts and destroyed, then continue running and goes up at the end of the platform. Shoots with a Ranged from far away are the Grolmenkristall broken. Turns out to be a good 90 degrees to the left and aiming the first of five to Grolmenkonsolen. Before you click on these, read you the following basic instructions:

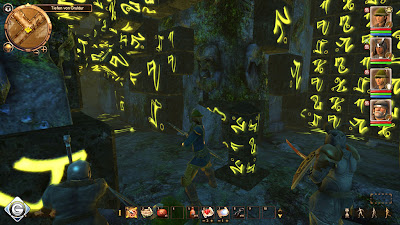
You can console each at four different points touching or, better said, one of their four slabs rotate. Each of them represents one of the symbols that are at the top of the pyramid angle of the console can be seen. Important for you is only the symbol, which in the space hineinzeigt, so what you see, if you, directly from the console below, himself in the middle of the room looks.

This icon tells you what record you have to rotate:

- Watch her three obliquely downward curved lines, it is the first of the above.
- You see horizontal wavy lines, then it is the second from the top.
- You see a simple circle, then it is the third from the top.
- You see it a squiggled round symbol, then it is the fourth from the top.

Makes her an error, then solves it first, a small case, and secondly, it misses the chance later to a small reward for your efforts.

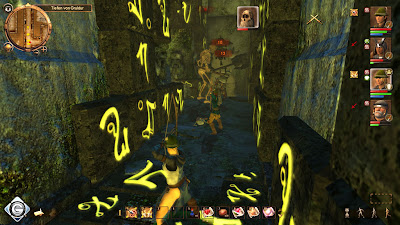
Three of the consoles are on this level and two more at the next subject. You must therefore be a further large upward climb stairs, as soon as her first three consoles have all enabled. You should continue to Grolmenkristalle from afar with your Ranged destroy. Look also on crystals on it, on the other side of the room spied. Theoretically you can, apart from the final battle, all further contact with Grolmengeistern prevent. The only drawback: you obviously miss some experience points. Otherwise appears occasionally King on to it with one, two strokes sells.

Do you have pressed all crystals and the narrow bridge at the end of the path is reached, then comes the inevitable showdown against Grolmenkönig. Initially, this not so hard: The king has a very nasty fire attack in sleeve, but it has little defenses not looking good. The problem is the fight anyway, because after each loss of approximately one third of his life energy, he implores Grolmengeister that you are immensely distracting.
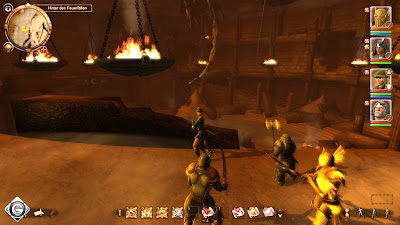


The escape trick worked again but this time he has another benefit. The Grolmengeister not necessarily appear in your or in the vicinity of the King, but always at the start point of the fight, just before the narrow bridge. Ergo, you should the king of this position and can weglocken him so moved smoothly kill. The ghost does herunterschweben to you, but they are so slow that it barely in time you will achieve.

Is the King defeated, then marched back up and painstakingly built up over the bridge. After the cutscenes you briefly turns around and opens the box, which is encased by the fire. Goes even further back to the middle of the room and looks towards the East. You should at the base of the stairs and see how this goes to the top left. Below these stairs is a secret compartment where the reward for the flawless execution of the five Grolmenkonsolen hidden.
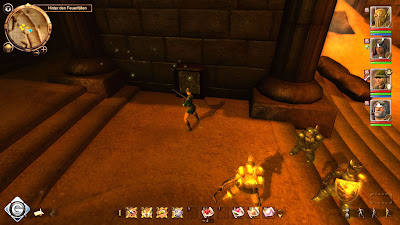


Now is the time until all the way to the north and run down the stairs. Talk to the friendly cyclops and convinces him that it would be another possibility as to foul down here. After a further intermediate sequence you need to contact him again and convince them that there is still hope. You must you immediately a new and powerful weapon to choose. Considering that only your hero, may be worn, just like the fire-arms. Finally, you enter the portal in the north and is back in Murolosch.

Now it's serious: Talk to Rakorium and then Arom. When he tells her that her're ready, there is no turning back anymore. Equip, train and side quests you need to finish in each event advance to conclude.

Previous-Chapter 9: Behind the fire cases- A)Hidden switches, fire-heart traps and soil
Drakensang walktrough- Chapter 9: Behind the fire cases- A)Hidden switches, fire-heart traps and soil
Previous-Chapter 8:Depths of Grundlur- D)Back in Murolosch

Hidden switches, fire-heart traps and soil
Timeframe: 90 minutes
Difficulty: Moderate

Walk straight ahead stubbornly and let you not fire ghosts and spiders Emerald irritate. If you are fighting against the former: Searches in any event, ash and collects all the fire heart, which you can get. Their lands necessarily at an impasse on the deck of a number of stone tablets around. Relatively early hides a switch to your right behind a pillar or on the wall. He is unfortunately placed so high that it had not reached him. Therefore, type the column with a simple click, which then zusammenkracht and switches.


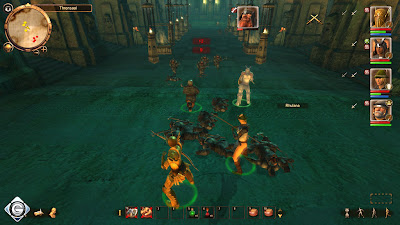
Running back and at the junction of the road to the east. Again the path breaks and on top of fire, three ghosts. Caution: When in the course of their death blow, then they really much damage each time they are right next to nature. Therefore, these fire ghost lives here much less energy than those colleagues who know her in Grundlur had learned. Attempts therefore a priority, from afar with your Ranged and their masters to take action shots.

Then collects each of the Fire Heart from the leftover ash and goes all the way to the rear of the stone subjects. If you look into their affairs, then discovered her heart burned. Take it out and still continues to burn your heart, more specifically the left three and a stone into the right compartment. If you do not have enough, then you'll have to wait just a bit behind you every now and then dip further fire spirits that your lack of heart should be compensated.


Crosses the bridge again and get on a three-pack fire spirit. Also on the other side are two stone subjects. This time you'll have to fire left four hearts and two into the right to use, then is the way to the north free. The following course is teeming only as of traps. Look at the tiles and avoid all those with an eye icon. To do this, it selects one of your characters and run with them separately to the other end of the Ganges.

Previous-Chapter 8:Depths of Grundlur- D)Back in Murolosch

Drakensang walktrough- Chapter 8:Depths of Grundlur- D)Back in Murolosch

Previous-Chapter 8:Depths of Grundlur- C)The flames helmet

Back in Murolosch 


Timeframe: 20 minutes
Difficulty: Easy

There is the king during your absence, the madness in ruins, so it immediately rushes to the throne room. In this teeming just so crazy dwarfs from. Accesses begin with a bow and arrow, and waits until the attacked troops stormed unto you. So you can get the groups after easy defeat. The Dwarfs are not particularly strong, especially under-tactically perfect. Even the king can only suggest to get wild and, in contrast to his subjects given a higher life energy bar to show.


Now you need to return to Aldessias apartment, and the portal a second time to use. Before you even allowed in Zeugwart Otosch pick up a further reward, on the occasion to give her his dented helmet. Equips you strong and is mainly due again to the armourer. Learn the latest now for all your Ranged the ability of the master shot: In this dungeon you need to frequently against certain serious opponents applies, where this strong attack of gold is worth.

Previous-Chapter 8:Depths of Grundlur- C)The flames helmet

Drakensang walktrough- Chapter 8:Depths of Grundlur- C)The flames helmet

Previous-Chapter 8:Depths of Grundlur- B)The third artifact cyclopean

The flames helmet

Time Frame: 120 minutes
Difficulty: Moderate

Walk behind the door west to the dead and fights against an amoeba. Go back and get to suddenly emerging Grolmengeister On. Ignore the moment the way to the north and smite those to the south one. Ignored as well as all intersections and marched up to the impasse. They found her a dented helmet, with its aufnehmt. Returns and to take only the best route to the west. You arrive to a camp used by Grolmen only as swarms. Caution: In the midst of a fire flutters around spirit, whose fight a priority.


Do you have looted the camp, then turns around and hit the second lane in a westerly direction to those directly above the other. After further struggles against her Grolmen climbs a spiral staircase up and allowed you to once again enjoy massive Grolmen. The next crossroads leads you in a southerly direction to a camp, while their ultimate weiterlauft north. One intersection later aiming their way to the northeast at.

Warning: save from BEFORE you take any button is pressed. If you make a mistake, then you can no longer be this mystery solved. Click first on the first switch that you see. Walk to the left and then click this button to necessarily TWICE. Run back now and again clicked the first switch. Go to the northeast, comes the following NOT switch to and marches in favor of the crossing further to the northwest. Also met her there a switch to it as the last movement. Finally gets you in the Northeast throughout the key, which is located on the ground.


Marches back and at the first intersection WITHOUT switch in a north-westerly direction to the second spiral staircase. It tackles the Grolmen rising one floor up, wait until the bridge before you build, and kills all Grolmengeister. Even from afar you see in the next gear two stone golems. This time you should be strong enough, one of them without a break to defeat and after a short flight and the second regeneration phase Golem easy to conquer.

After running her left in a very large room. Defeated the Grolmengeister and opens the chest in the northwest. Take out the entire contents and leave the room again. Marches further east and open the next door. Opens also those in the north door and walk up to the next room. Defeated the Fire Spirit, devoted to the box and you press the switch. Returns around and hit the road to the south one.

Turn left as soon as possible after starting. If you have the room full Grolmen enter, then appeared next to you on a huge Zyklopenskelett. Flees, without hesitation, until your opponent you are no longer pursuing. Returns to the room: Now you can order the first Zyklopenskelett care if it is of course from attacking. It has a lot of life energy, but also a weak defense and a slow attack speed


Once you have the skeleton, and shortly afterwards the defeated Grolmen have expressed their very rear of the space inside the small monoliths. Then it touches the large monoliths, which has just fallen down, and you get the flames helmet and a teleport disc. Now is your arms fully flames on it in the inventory of relevant quest items found. Only your main character can wear, but it is also universally suitable for every class.

Now leave the room to the east. You reach the final spiral staircase that you two floors down leads. Your stoßt on a gate, which means it opens the winch. Marches at the next intersection, turn left towards the east and reached the stairs, which you return to the beginning of space brings.

What follows is a final battle against a dozen Grolmengeister well, despite their majority have nothing to report. Once you and the dwarf spirit one last time is addressed, explains the dwarf in his amulet from the corpse. Click to the remnants of the body, it looks in your inventory after the amulet and submit it to the inventory of the corpse. Finally it goes to the starting point that opens the portal and travel back to Murolosch.

Previous-Chapter 8:Depths of Grundlur- B)The third artifact cyclopean


Drakensang walktrough- Chapter 8:Depths of Grundlur- B)The third artifact cyclopean

Previous-Chapter 8:Depths of Grundlur- A)The first and second cyclopean artifact

The third artifact cyclopean

Timeframe: 60 minutes
Difficulty: hard

If you have everything in this area have researched the story, or early next want to follow, then marched all the way back to the beginning room. This opens the door cyclopean near the dwarf corpse and take the path east into attack. They expect you the first Grolmen opponents of the game. These are available in two versions: the undead and ghosts. Kill the latter necessarily first, because their attacks nerves, but they have little life energy.


At the next intersection you can either continue toward the northeast and an amoeba, plus a large emerald spider kill or equal to the south to the next area marching. You recognize this fact that there is a map there, just as in the adjacent area. Course you can not, but it encountered other fire spirits, Wühlschraten, Emerald spiders and of course many Grolmen. Verfahrt both tactically as before and is struggling through you, until you again in the very large area arrived, too.

There is it in the first T-junction to the west and open the cracked wall by using the winch. Thus it paves a shortcut back to the workshop, you'll probably also need: A battle against four ghost fire is imminent, or more precisely the north of the T-junction of view. Again the ghost appear only if its third cyclopean artefact in the middle of the area to close.


Do you have the artifact, either after a hard fought battle with several escape attempts ergaunert, then goes back to the beginning of their hall. In addition to the dwarf corpse a staircase leads upwards to the second floor. Uses this path and you come to the third cyclopean door.

Previous-Chapter 8:Depths of Grundlur- A)The first and second cyclopean artifact